
Our Radon Mitigation Process
What happens from your first radon test to the post-install retest, step by step, so you know exactly what to expect before we arrive.
Get a Free Quote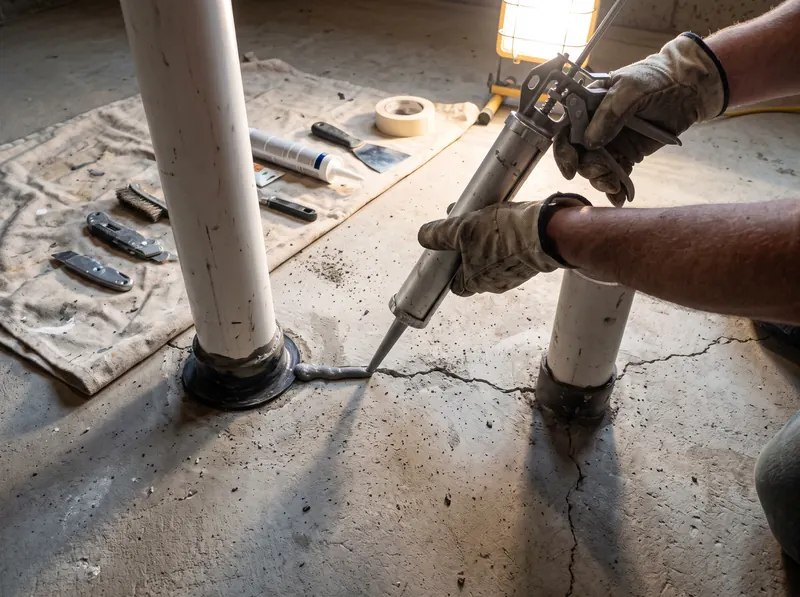
The short version
Radon mitigation systems work by lowering the air pressure under your home slightly, so soil gas is pulled into a pipe and vented outside instead of seeping indoors. The approach is called active soil depressurization, and it is the method the EPA recognizes for most homes.
Our job is to set that system up correctly for your foundation, keep the install neat, and prove it worked with a post-install test. Most installs take one day or less.
Step by step
Six stages, from finding out your level to keeping the system running for years.
Test your home
Every job starts with a number. That can be a recent result from a home inspection, a do-it-yourself kit, or a short-term professional test we run. Tests should sit in the lowest lived-in level of the home with windows and doors kept closed. If your result is at or above the EPA action level of 4 pCi/L, mitigation is recommended. Between 2 and 4, the EPA suggests considering it.
On-site assessment and diagnostics
We visit your home and look at the foundation: slab, basement, crawl space or a mix. On slabs we drill small test holes and check how well suction travels underneath, called a pressure-field or communication test. In crawl spaces we check clearance, soil, moisture and any existing vapor barrier. We also look for the best pipe route and where the fan can sit outside the living space.
Clear written quote
You get a written quote with the price, the number of suction points, the planned pipe route, the fan location and a time estimate. There is no charge for the estimate and no pressure to sign on the spot.
Installation
On a slab or basement, we core a hole through the floor, dig out a small suction pit, and connect PVC pipe. In a crawl space, we lay a heavy plastic membrane over the soil, seal it to the walls and piers, and draw suction from under it. The pipe runs to a radon-rated fan located outside the living space, in an attic, garage or on an exterior wall, and vents above the roofline. We install a manometer, seal accessible cracks and openings, label the system and clean up.
Post-install radon test
Following EPA guidance, we wait at least 24 hours after the system starts running before beginning the post-install test. That gives the air under and inside the home time to settle. You get the result in writing so you can compare it to your starting number.
Ongoing upkeep
Check the manometer now and then. If the liquid levels are uneven, the fan is pulling suction. If they are level, call us. Retest about every two years, and again after major renovations such as finishing a basement or adding on, since those changes can affect how air moves.
Step 1: Testing comes first
You need a test result before mitigation makes sense. Short-term tests run a few days and give a quick read; long-term tests run 90 days or more and show a better average across seasons. During a home sale, short-term tests are the norm because of the timeline. If you have never tested, SCDES offers one free kit per home while supplies last, or we can run a professional radon test. Not sure what your number means? Read radon between 2 and 4 pCi/L.
Step 2: Why the diagnostic check matters
The most important part of a good install happens before any pipe goes up. A suction test tells us whether one suction point can reach the whole slab or whether the soil, footings or separate foundation sections need more. Skipping this step is how systems end up installed but not bringing levels down. In crawl spaces, we note anything that has to be dealt with first, such as debris, standing water, or a torn vapor barrier.
Step 3: What's in your quote
Your written quote lists the system type, number of suction points, pipe route, fan location and price, plus how long the install should take. If you are weighing an exterior pipe against routing through the garage or attic, we price both so you can choose. Typical ranges are on our radon mitigation cost guide.
Step 4: What install day looks like
- Suction point or membrane. A cored hole and suction pit for slabs and basements (sub-slab depressurization), or a sealed membrane for crawl spaces.
- PVC pipe. Sealed joints, supported runs, and a discharge above the roofline away from windows.
- Radon fan. Placed outside the living space so any leak on the pressurized side stays outdoors.
- Manometer. A simple U-tube gauge on the pipe that shows the system is pulling suction.
- Sealing. Accessible cracks, gaps and openings in the slab or foundation get sealed to help the system work.
- Labeling and cleanup. The system is labeled, the work area is cleaned, and we walk you through it.
Step 5: Confirming it worked
The EPA advises waiting at least 24 hours after the system starts before you begin a post-install test. We run that test on every system we install and send you the result in writing. If you are selling, that before-and-after record is useful for buyers. See home sale radon mitigation.
Step 6: Keeping the system working
Radon systems need very little attention. Glance at the manometer every so often. Fans typically last 5 to 10 years, and when one fails, replacing it is usually a short visit. Retest about every two years and after renovations. If your system has stopped working or never brought levels down, we can help with radon system repair.
Know your number. Fix it if it's high.
Free radon mitigation quotes across the Upstate — usually a same-day reply.